Kids In Doodles: Dropper Art

I’ve been swamped with household chores that I have been unable to prepare decent activities for our PLAYhouse PreSCHOOL morning sessions.  Since our helper left, the toddlers have had to make do with workbooks and their toys. 

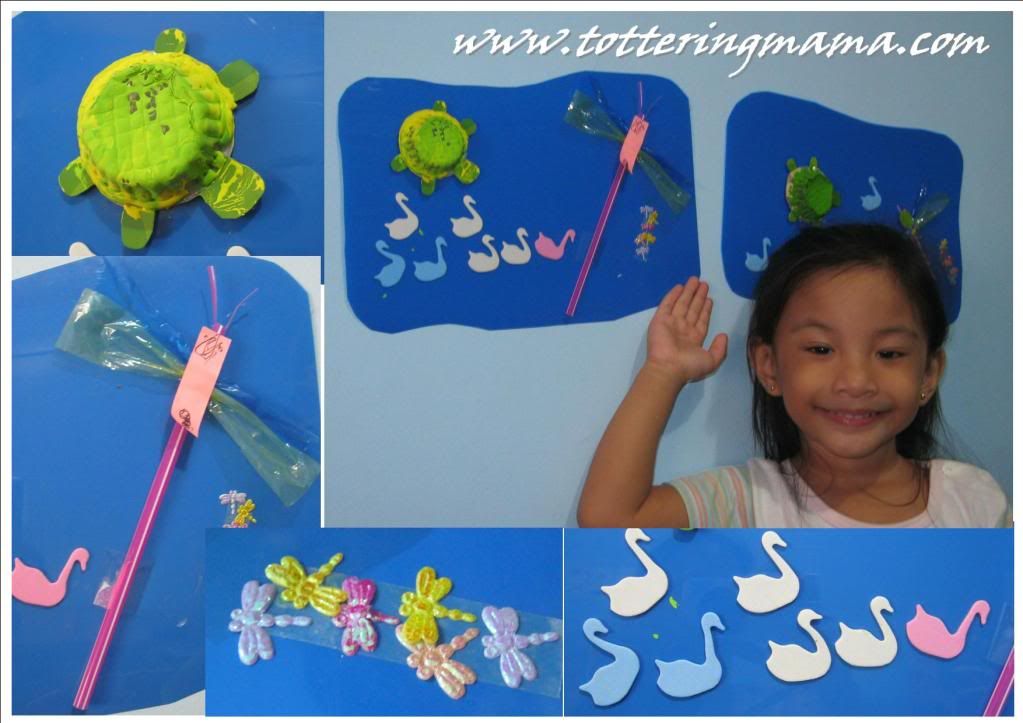
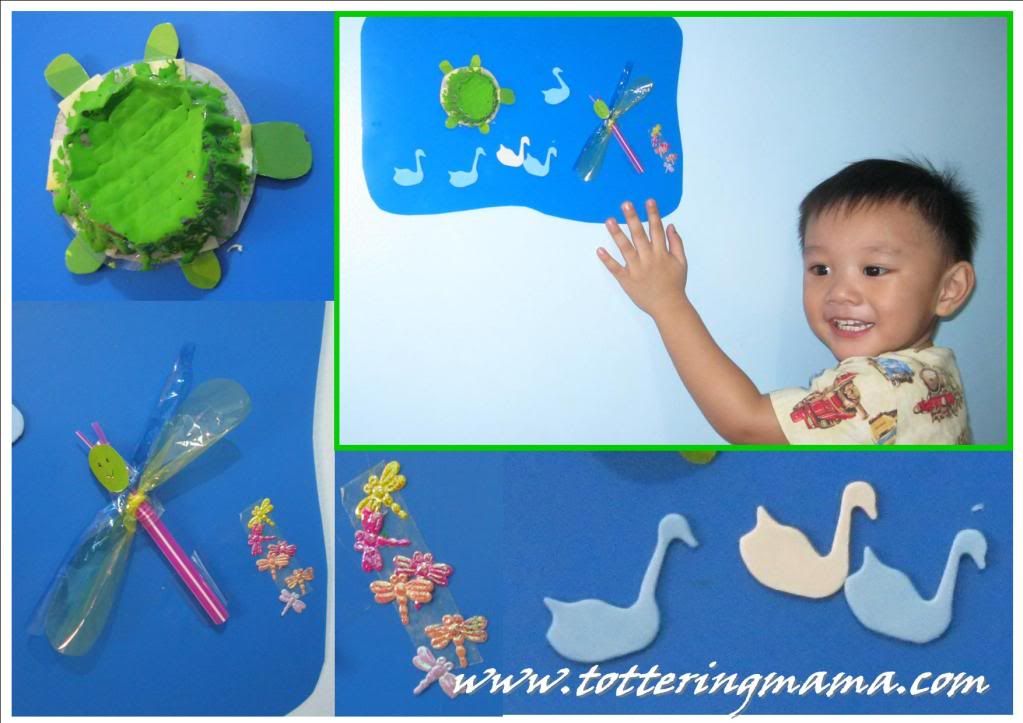
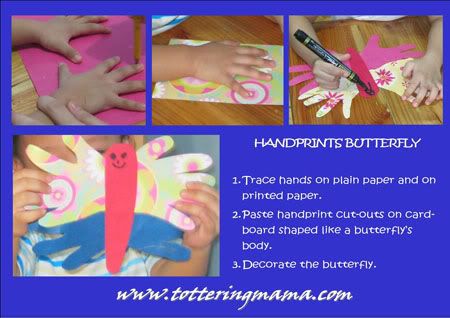
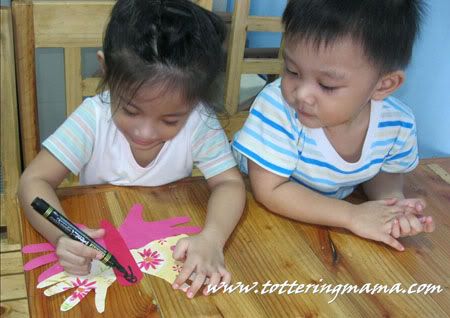
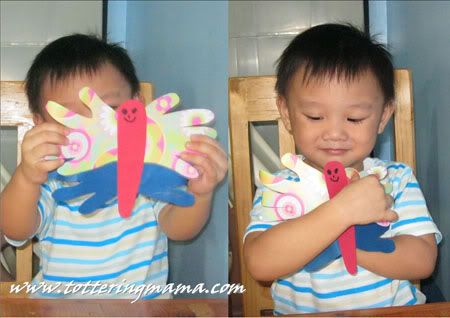
I have resolved though to find a way to adjust our schedule so we could still do fun learning activities together.  One of the activities I miss the most is our Art Day.  Here’s one of the messiest art activities we had last year, Dropper Art:

Photobucket

Photobucket

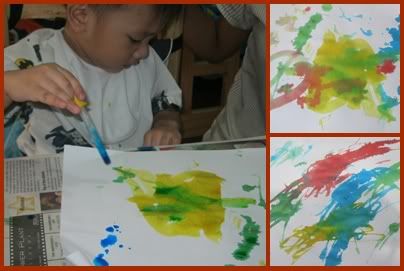
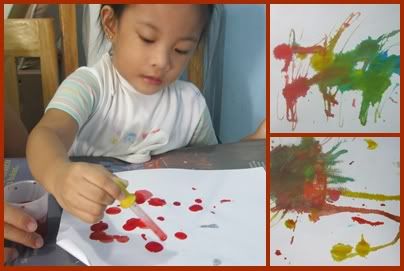
We just used old medicine droppers, food color mixed with water, oslo paper, and TONS of newspaper to soak up spills.  It was pretty messy but the kids had oodles of fun.  Moreover, pinching the medicine dropper was a perfect exercise to hone their fine-motor skills. 

If you want to try this activity with your toddlers, make sure you have plenty of newspaper around. 😀

Christmas Felt Decors for Our Christmas Stockings

When we were little girls, I fondly remember having a hard time sleeping on the 24th of December.  Before going to bed, it had been part of our tradition to hang our socks in the tree or by the window sill.   My sisters and I all eagerly awaited being called for Noche Buena.  We were children and were therefore more excited to open our Christmas presents than to eat food.  We were also always very excited to check what goodies Santa had left in our socks.

This is another tradition I would like to pass on to my children.  They were much too young to truly appreciate their Christmas stockings last year; but now, aside from being excited for Santa to drop by our house, they are also proud to see their Christmas stockings hanging by our window.  Mainly because they helped decorate them!

Hubby and I bought these Do-It-Yourself Christmas Ornaments on sale for Php 250 for two boxes at the Toy Kingdom sale a month ago.  Each box contained pre-cut felt patterns, glittery thread, safety needle (made of plastic and with a blunt tip) and instructions on how to create the ornaments.  This craft activity is so easy to do you won’t even need to read the instructions if you already know how to sew.

This craft was also a great “lacing” exercise for my toddlers.  They took turns helping me sew the patterns together.  There was no danger of being pricked by the needle as the tip was blunt so I let them do the sewing while I held the pieces together.

Photobucket

The ornaments were actually designed to be hung on the Christmas tree but we used them to decorate our stockings instead.

Photobucket

It was truly great fun creating our own Christmas decors! Next year, we might try to get some of those paint-your-own decors sets.

WWW: It’s A Pond’s Life

It was a rainy Sunday yesterday but the atmosphere was so very sunny inside our humble home.  My best friend from way back in college spent the day with us.  She brought her two little princesses with her so Jade and Jakei had “classmates” for this week’s art day.

I was so excited to have them as our guests that I forgot to take pictures.  I was able to take pictures of the toddlers with their finished art work earlier today though.  These pictures aren’t enough to show how much fun my toddlers had with Ate Yarie and Myka but they’d at least give you an idea:

Photobucket
Photobucket

If you’d like to make a little pond with your own little ones, here are some ideas you might want to try:

The DRAGONFLIES were the easiest to create.  All we did was cut some drinking straw into two for the dragonflies’ bodies. Then we tied two strips of plastic (cutout from plastic sandwich bags) an inch away from one end of the straw. We used double sided-tape to stick faces cutout from cardboard on the straws.  Lastly, we cut away part of one end of the straw to make antennas

The TURTLES were made from the plastic container of the polvoron hubby brought home last week and the cardboard box of the toddlers’ paint set.  I cut out pairs of feet and turtle heads from the cardboard box which the toddlers attached to a circle cutout using tape. We then attached the plastic container, which served as the turtle shell, to the turtle’s body using foam tape.  The toddlers used tempera paint to color the turtle shell.  I forgot about the turtles’ tails though so we have tailless and faceless turtles.

We used old blue plastic folders for the ponds.  We taped our turtles and dragonflies on the ponds and decorated them with swan foam stickers and tiny sparkly dragonflies.  The toddlers are still a bit to young for some complex origami but if your little ones are already able to follow instructions in paper folding, you might want to add ducks and frogs to your pond.

WWW: I Flit, I Float, I Flitty Flee, I Fly


Once again our schedule has gone haywire and our arts and crafts day was held on Friday instead.  The toddlers had been begging to paint for weeks now so we all trooped to the bookstore last Thursday to buy some paint and a couple of new paintbrushes. Oh, wait! That was the reason we moved our Wonderful World of Wednesday to Friday. We had no paint!

Armed with fresh paint and new brushes, we were all set to create our own garden animals from bits and pieces of materials scattered in the house.

Photobucket

First on our insect collection were Handprint Butterflies which we had already done a few weeks ago.  Since, this is the second time we did the activity, the toddlers were already familiar with the procedure. Jakei didn’t make much of a fuss this time and patiently waited for his handprints to be cut out.

Next on our list were Ladybugs made from plastic bowls.  We used the following materials for our ladybugs:

  • Plastic party bowls (left over from their birthday party a few months ago)
  • Board paper or any cardboard
  • Sandpaper
  • Red tempera paint
  • Foam tape (double adhesive)
  • Black markers

Photobucket

The toddlers painted the outside of the bowls with red paint and we set these aside to dry.  In the meantime, we cut out circles from an old red folder and glued the legs of the ladybugs on them.  We cut out L-shapes from sandpaper and used them for the legs.  We then used foam tape to stick the circle cutouts on top of the bowls.  When the paint was dry, we drew faces and black circles on them to complete the details of our ladybugs.

Last on our insect collection was the caterpillar.  By this time, paint had lost its allure on Jakei and the little boy just kept running around the room.  Thus, only one caterpillar adorns our wall now.  To make our caterpillar, we used:

  • Empty egg tray (washed with soap and dried thoroughly)
  • Green and yellow tempera paint
  • Fuzzy wires (we got red and white stripes)
  • Fasteners (you can get colorful ones from Hallmark Scrapbooking stations)
  • Cardboard
  • Foam tape
Photobucket

Due to my poor skills in photography, this caterpillar looks blue in the picture. It really is green, really!

I cut the bottom part of the egg tray into four sections and  attached each one on cardboard pieces using foam tape.  The toddlers painted the egg tray with green and yellow paint.  I then inserted fuzzy wires for the caterpillar’s antenna and fasteners for the eyes. Ta-da! We had a caterpillar!

Surprisingly, we didn’t make too much of a mess! This is also our first time to use tempera paint and it certainly won’t be the last.  The paint washed off easily from the toddlers hands and did not stain their clothes.  I guess this means we can have more painting activities from now on.

Photobucket

WWW: Handprint Butterflies

This week’s theme was supposed to be about zoo animals but I decided to change it to garden animals.  Our theme last week was all about plants where the toddlers learned more about how plants grow and what they need to grow.  I felt that learning more about insects and other animals found in the garden would supplement our lessons the previous week.

One of our craft activities for our Wonderful World of Wednesday are Handprint Butterflies.  We made butterflies from the toddlers’ handprint cutouts.  This is a fairly easy craft to do but younger children would need help putting the pieces together.

What You’ll Need:

    • scrap paper – used gift wrappers work best
    • construction paper
    • glue, paste or glue sticks (my toddlers are able to handle glue sticks better)
    • scissors
    • board paper, popsicle sticks or anything you have at home that can be used for the butterfly’s body
    • colored pen (for drawing a face)
    • twist ties or yarn for the antenna
Photobucket

What You Need To Do:

    1. Trace handprints of both hands on printed paper.
    2. Trace another set on plain construction paper.
    3. Cut out the handprints.
    4. Cut out two identical butterfly bodies from board paper.  You may also use two popsicle sticks if you have some.
    5. Glue the handprints cutouts between the butterfly bodies (or popsicle stick).
    6. Draw a face and decorate the rest of the butterfly.
Photobucket

The toddlers loved playing with their butterflies and waved them around while singing Barney’s song “Butterfly, butterfly, happy all day. Butterfly, butterfly, fly, fly away.”

Photobucket